


Table of contents
Java is one of the most popular programming languages in the world right now. It was invented in the 1990s by Sun Microsystems and is currently being maintained and distributed by Oracle. The current version of Java is Java 21.
Over time, Java has gone through many changes and new new built-in libraries were added to the language. One such library is Swing.
Java Swing is a built-in GUI library that's included in the Java Development Kit or JDK. It's a simple library that can be used to create interactive user interfaces which can be connected to databases and much more.
However, Swing is quite old and has its limitations so Oracle introduced JavaFX as a replacement for Swing. JavaFX uses FXML which is its own type of XML. You have to hardcode the GUI elements in Swing but you can just use FXML to create the UI in JavaFX but JavaFX has a learning curve and is not as easy as Swing.
Swing is enough for most of the basic projects. JavaFX is a better choice for web applications. Swing is a small library but it's very powerful and efficient. Even IDEs like IntelliJ IDEA are written in Swing so one must not underestimate it.
Today, I'll be showing you one of my first Java projects, swingPad, which is basically a notepad clone made using Swing. It supports all file formats and works exactly like Notepad. Let's get started.
If you want to view the source code of my project, you can check it out here: https://github.com/SpaciousCoder78/swingPad
PermalinkPre-Requisites
JDK 17 , Download here: https://download.oracle.com/java/17/latest/jdk-17_windows-x64_bin.exe
IntelliJ IDEA Community Edition , Download here: https://www.jetbrains.com/idea/download/#section=windows
For this project, we'll be using JDK 17 since it's the current LTS version.
We'll be using IntelliJ IDEA Community Edition as our IDE for this project.
Set up both of these requirements and let's head to the next section.
PermalinkCoding Part
Open a new project in IntelliJ and create a new file called main.java.
Let's get started.
PermalinkImporting Modules
If we need to use Swing or any sort of library, we need to import them first.
We can import libraries or modules using "import module_name;" .
For our Notepad clone, we'll be needing Swing, ActionListener, ActionEvent, FileReader and other modules necessary for writing and reading files.
Add the following code to your main.java file.
import javax.swing.*;
import java.awt.*;
import java.awt.event.ActionEvent;
import java.awt.event.ActionListener;
import java.io.FileOutputStream;
import java.io.FileWriter;
import java.io.BufferedWriter;
import java.io.PrintWriter;
import java.io.BufferedReader;
import java.io.FileReader;
PermalinkCreating A Main Function To Launch The App
Every Java file needs a main function to use the code written in the file so let's create a main function that calls a class named "app" which we'll be creating in a moment.
Add the following main function to your code.
public class Main {
    //Calling app class
    public static void main(String[] args) {
        app obj = new app();
    }
}
PermalinkCreating The Main Window
Let's create a main window where the users can interact and write stuff into the text area.
First of all, we need to make a JFrame and make it visible.
But before that, we need to be enclosing all the upcoming code in a class named app since we're calling that class from our main function.
class app{
}
Now let's create a function named app where we'll be adding all of our JFrame and its elements to it.
public app(){
}
Now let's create a JFrame so that we can show a window when the function is called.
public app(){
        //Creating new frame
        JFrame x = new JFrame("swingPad");
        JTextArea textArea = new JTextArea(45,150);
}
Doing this will create a window named swingPad but when you try to run the code, you won't see anything. This is because by default, Swing's JFrame is set to invisible, you need to manually change it to visible by adding the following code.
public app (){
        //Creating new frame
        JFrame x = new JFrame("swingPad");
        JTextArea textArea = new JTextArea(45,150);
        //add these following lines of code to make the window visible
        x.setVisible(true);
        x.setSize(400,400);
        x.setDefaultCloseOperation(JFrame.EXIT_ON_CLOSE);
        x.setLayout(new FlowLayout());
}
PermalinkAdding Text Area
Now let's add a text area to our window so that users can type something into the body.
// Add the text area to the center of the layout
x.add(textArea, BorderLayout.CENTER);
PermalinkAdding A Tool Bar
Now that we've added a text area, we can focus on adding a tool bar so that our users can save or open files.
Add the following code to the app function.
JMenuBar menuBar = new JMenuBar(); //creating a menu bar
JMenu fileMenu = new JMenu("File"); //Menu bar item: File
JMenu info = new JMenu("Info");// Menu bar item: Info
menuBar.add(fileMenu);//adding items to menu
menuBar.add(info);

x.setJMenuBar(menuBar);//setting up the tool bar
Now if you run the code in IntelliJ, you'll get the following window.

PermalinkAdding More Items to the Toolbar
Let's add more items like saving files, opening files and an info button that shows the information about the app when it's clicked.
Add the following code to your file.
JMenuItem saveMenuItem = new JMenuItem("Save File");// File menu option: Save file
JMenuItem newMenuItem = new JMenuItem("New File");// File menu option:New file
JMenuItem OpenFileItem = new JMenuItem("Open File");// File menu option: Open File
fileMenu.add(newMenuItem);//adding all the options to file menu
fileMenu.add(saveMenuItem);
fileMenu.add(OpenFileItem);
JMenuItem infobox = new JMenuItem("Info");
info.add(infobox);
Make sure that you add "x.setJMenuBar(menuBar);" at the end of this or else elements won't show up.
This is the final code of the class named app that you should be getting.
class app{
    public app() {
        //Creating new frame
        JFrame x = new JFrame("swingPad");
        JTextArea textArea = new JTextArea(45,150);

        // Add the text area to the center of the layout
        x.add(textArea, BorderLayout.CENTER);


        JMenuBar menuBar = new JMenuBar(); //creating a menu bar
        JMenu fileMenu = new JMenu("File"); //Menu bar item: File
        JMenu info = new JMenu("Info");// Menu bar item: Info
        menuBar.add(fileMenu);
        menuBar.add(info);

        JMenuItem saveMenuItem = new JMenuItem("Save File");// File menu option: Save file
        JMenuItem newMenuItem = new JMenuItem("New File");// File menu option:New file
        JMenuItem OpenFileItem = new JMenuItem("Open File");// File menu option: Open File
        fileMenu.add(newMenuItem);//adding all the options to file menu
        fileMenu.add(saveMenuItem);
        fileMenu.add(OpenFileItem);
        JMenuItem infobox = new JMenuItem("Info");
        info.add(infobox);

        x.setJMenuBar(menuBar);


        x.setLayout(new FlowLayout());


        //add these following lines of code to make the window visible
        x.setVisible(true);
        x.setSize(400,400);
        x.setDefaultCloseOperation(JFrame.EXIT_ON_CLOSE);
    }
}
Now we're pretty much done with designing our window. We need to add some code to our menu options to actually make them work but we need to take care of the file-saving and file-opening modules first.
PermalinkCreating a File Opener
We need to add some functionality to our Open File option in the tool bar. Let's begin by making an empty fileopener class.
class fileopener{
}
Now let's make a function called fileopener and use the JTextArea as the parameter.
public fileopener(JTextArea textArea){
}
Now let's call the element called JFileChooser which is a built in element to open files from your computer using Swing.
 public fileopener(JTextArea textArea) {
        // Open a file chooser dialog and allow the user to select a text file to open
        JFileChooser fileChooser = new JFileChooser();
        fileChooser.setDialogTitle("Open Text File");
}
Now let's use bufferedReader to choose the file and read the text from the selected text file and then display the text on the Text Area in our app.
Add the following code to the function.
int result = fileChooser.showOpenDialog(null);
        if (result == JFileChooser.APPROVE_OPTION) {
            // Read the contents of the selected file and display them in the text area
            try (BufferedReader reader = new BufferedReader(new FileReader(fileChooser.getSelectedFile()))) {
                textArea.setText(""); // clear the text area
                String line;
                while ((line = reader.readLine()) != null) {
                    textArea.append(line + "\n");//appending the text to text area
                }
            } catch (Exception e) {

            }
        }
Now we're done with the file opener class.
Here's the full code of the class:
class fileopener {
    public fileopener(JTextArea textArea) {
        // Open a file chooser dialog and allow the user to select a text file to open
        JFileChooser fileChooser = new JFileChooser();
        fileChooser.setDialogTitle("Open Text File");
        int result = fileChooser.showOpenDialog(null);
        if (result == JFileChooser.APPROVE_OPTION) {
            // Read the contents of the selected file and display them in the text area
            try (BufferedReader reader = new BufferedReader(new FileReader(fileChooser.getSelectedFile()))) {
                textArea.setText(""); // clear the text area
                String line;
                while ((line = reader.readLine()) != null) {
                    textArea.append(line + "\n");
                }
            } catch (Exception e) {

            }
        }
    }

}
PermalinkCreating A File Saver Class
Now that we've done a file opener class, we also need to make a class to save the file. Let's get started.
First off, we need to create a new class called filesaver.
class filesaver{
}
Let's also define our JFrame outside the filesaver function for convenience.
class filesaver{
      JFrame frame;
}
Now let's create our file saver function. We'll be gathering all the text from the text area and will be attaching it to a string so here, string will be the function parameter. We'll be doing the parsing the text into a string once in our app class once we are done with our filesaver class.
public filesaver(String body) {
}
Now let's create a JFrame and add a text field to enter the file name and a button to save the file. Add the following code to the filesaver function.
//creating a jframe
frame = new JFrame("swingPad");

//label for asking file name
JLabel l2= new JLabel("Enter the file name: ");
//textfield
JTextField t3 = new JTextField(20);
//button for saving file
JButton b= new JButton("Save file");
//setting flow layout
frame.setLayout(new FlowLayout());
frame.setVisible(true);
frame.setPreferredSize(new Dimension(400, 400));
frame.pack();
frame.setSize(400,400);
Now let's create an action listener to listen to the event when the save button is clicked.
//action listener for button b
b.addActionListener(new ActionListener() {
            public void actionPerformed(ActionEvent e) {
                //getting text from the textarea
                String filepath=t3.getText();
                try (FileOutputStream fos = new FileOutputStream(filepath)) {
                    FileWriter fw = new FileWriter(filepath, true);
                    BufferedWriter bw = new BufferedWriter(fw);
                    PrintWriter pw = new PrintWriter(bw);

                    pw.println(body);
                    pw.flush();
                    pw.close();
                    JOptionPane.showMessageDialog(null,"Record Saved");

                }
                catch (Exception x){
                }
            }
        });
Now finally, let's add all the elements into the JFrame
frame.pack();
frame.add(l2);
frame.add(t3);
frame.add(b);
Now we are done with our file saver class and it should look like this.
class filesaver {
    //String body;
    JFrame frame;

    public filesaver(String body) {
        //this.body = body;
        frame = new JFrame("swingPad");

        JLabel l2= new JLabel("Enter the file name: ");
        JTextField t3 = new JTextField(20);
        JButton b= new JButton("Save file");
        frame.setLayout(new FlowLayout());
        frame.setVisible(true);
        frame.setPreferredSize(new Dimension(400, 400));
        frame.pack();
        frame.setSize(400,400);
        b.addActionListener(new ActionListener() {
            public void actionPerformed(ActionEvent e) {
                String filepath=t3.getText();
                try (FileOutputStream fos = new FileOutputStream(filepath)) {
                    FileWriter fw = new FileWriter(filepath, true);
                    BufferedWriter bw = new BufferedWriter(fw);
                    PrintWriter pw = new PrintWriter(bw);

                    pw.println(body);
                    pw.flush();
                    pw.close();
                    JOptionPane.showMessageDialog(null,"Record Saved");

                }
                catch (Exception x){
                }
            }
        });

        frame.pack();
        frame.add(l2);
        frame.add(t3);
        frame.add(b);
    }
}
PermalinkAdding Action Listeners To Toolbar Options In The App Class
Now that we are done with the basic structure of the project, let's add action listeners to our tool bar options.
Let's add our action listeners to our app class first.
saveMenuItem.addActionListener(al);//calling saving menu
newMenuItem.addActionListener(ax);//calling new file
OpenFileItem.addActionListener(ab);
infobox.addActionListener(bc);
Go back to the app class and add the following code for New File option. This will create a new file when the button is clicked.
ActionListener ax = new ActionListener() {
            //Calling app method again for new file option
            public void actionPerformed(ActionEvent e) {
                app newobj = new app();
            }
        };
Now let's make an action listener for saving menu. In this action listener, we'll be parsing all of the text from text area into a string.
       ActionListener al = new ActionListener() {
            public void actionPerformed(ActionEvent e) {
                //Saving text as txt file
                String body = textArea.getText();
                filesaver fs = new filesaver(body);
            }
        };
Now let's make an action listener for opening a file.
ActionListener ab= new ActionListener() {
            @Override
            public void actionPerformed(ActionEvent e) {
                app newoby = new app();
                fileopener obj2 = new fileopener(textArea);
            }
        };
Finally, let's make an action listener for our info bar which displays the info of the app when its clicked on.
ActionListener bc = new ActionListener() {
            @Override
            public void actionPerformed(ActionEvent e) {
                JFrame z = new JFrame("Info");
                JLabel l2= new JLabel("swingPad v1.3 ");
                JLabel l3= new JLabel("Created by SpaciousCoder78 @ GitHub ");
                z.add(l2);
                z.add(l3);
                z.setLayout(new FlowLayout());
                z.setVisible(true);
                z.setSize(400,400);


            }
        };
Now we're done with the coding part.
Let's have a look at our app class.
class app   {

    public app(){
        //Creating new frame
        JFrame x = new JFrame("swingPad");
        JTextArea textArea = new JTextArea(45,150);

// Add the text area to the center of the layout
        x.add(textArea, BorderLayout.CENTER);

        ActionListener ax = new ActionListener() {
            //Calling app method again for new file option
            public void actionPerformed(ActionEvent e) {
                app newobj = new app();
            }
        };

        ActionListener al = new ActionListener() {
            public void actionPerformed(ActionEvent e) {
                //Saving text as txt file
                String body = textArea.getText();
                filesaver fs = new filesaver(body);
            }
        };

        ActionListener ab= new ActionListener() {
            @Override
            public void actionPerformed(ActionEvent e) {
                app newoby = new app();
                fileopener obj2 = new fileopener(textArea);
            }
        };

        ActionListener bc = new ActionListener() {
            @Override
            public void actionPerformed(ActionEvent e) {
                JFrame z = new JFrame("Info");
                JLabel l2= new JLabel("swingPad v1.3 ");
                JLabel l3= new JLabel("Created by SpaciousCoder78 @ GitHub ");
                z.add(l2);
                z.add(l3);
                z.setLayout(new FlowLayout());
                z.setVisible(true);
                z.setSize(400,400);


            }
        };


        JMenuBar menuBar = new JMenuBar();
        JMenu fileMenu = new JMenu("File"); //Menu bar item: File
        JMenu info = new JMenu("Info");// Menu bar item: Info
        menuBar.add(fileMenu);
        menuBar.add(info);

        JMenuItem saveMenuItem = new JMenuItem("Save File");// File menu option: Save file
        JMenuItem newMenuItem = new JMenuItem("New File");// File menu option:New file
        JMenuItem OpenFileItem = new JMenuItem("Open File");// File menu option: Open File
        fileMenu.add(newMenuItem);//adding all the options to file menu
        fileMenu.add(saveMenuItem);
        fileMenu.add(OpenFileItem);
        JMenuItem infobox = new JMenuItem("Info");
        info.add(infobox);
        x.setJMenuBar(menuBar);
        saveMenuItem.addActionListener(al);//calling saving menu
        newMenuItem.addActionListener(ax);//calling new file
        OpenFileItem.addActionListener(ab);
        infobox.addActionListener(bc);

        x.setLayout(new FlowLayout());

// Create a text area


        x.setVisible(true);
        x.setSize(400,400);
        x.setDefaultCloseOperation(JFrame.EXIT_ON_CLOSE);

    }
}
PermalinkFinal Code
Let's have a look at the final code.
import javax.swing.*;
import java.awt.*;
import java.awt.event.ActionEvent;
import java.awt.event.ActionListener;
import java.io.FileOutputStream;
import java.io.FileWriter;
import java.io.BufferedWriter;
import java.io.PrintWriter;
import java.io.BufferedReader;
import java.io.FileReader;

public class Main {
    //Calling app class
    public static void main(String[] args) {
        app obj = new app();
    }
}

class app   {

    public app(){
        //Creating new frame
        JFrame x = new JFrame("swingPad");
        JTextArea textArea = new JTextArea(45,150);

// Add the text area to the center of the layout
        x.add(textArea, BorderLayout.CENTER);

        ActionListener ax = new ActionListener() {
            //Calling app method again for new file option
            public void actionPerformed(ActionEvent e) {
                app newobj = new app();
            }
        };

        ActionListener al = new ActionListener() {
            public void actionPerformed(ActionEvent e) {
                //Saving text as txt file
                String body = textArea.getText();
                filesaver fs = new filesaver(body);
            }
        };

        ActionListener ab= new ActionListener() {
            @Override
            public void actionPerformed(ActionEvent e) {
                app newoby = new app();
                fileopener obj2 = new fileopener(textArea);
            }
        };

        ActionListener bc = new ActionListener() {
            @Override
            public void actionPerformed(ActionEvent e) {
                JFrame z = new JFrame("Info");
                JLabel l2= new JLabel("swingPad v1.3 ");
                JLabel l3= new JLabel("Created by SpaciousCoder78 @ GitHub ");
                z.add(l2);
                z.add(l3);
                z.setLayout(new FlowLayout());
                z.setVisible(true);
                z.setSize(400,400);


            }
        };


        JMenuBar menuBar = new JMenuBar();
        JMenu fileMenu = new JMenu("File"); //Menu bar item: File
        JMenu info = new JMenu("Info");// Menu bar item: Info
        menuBar.add(fileMenu);
        menuBar.add(info);

        JMenuItem saveMenuItem = new JMenuItem("Save File");// File menu option: Save file
        JMenuItem newMenuItem = new JMenuItem("New File");// File menu option:New file
        JMenuItem OpenFileItem = new JMenuItem("Open File");// File menu option: Open File
        fileMenu.add(newMenuItem);//adding all the options to file menu
        fileMenu.add(saveMenuItem);
        fileMenu.add(OpenFileItem);
        JMenuItem infobox = new JMenuItem("Info");
        info.add(infobox);
        x.setJMenuBar(menuBar);
        saveMenuItem.addActionListener(al);//calling saving menu
        newMenuItem.addActionListener(ax);//calling new file
        OpenFileItem.addActionListener(ab);
        infobox.addActionListener(bc);

        x.setLayout(new FlowLayout());

// Create a text area


        x.setVisible(true);
        x.setSize(400,400);
        x.setDefaultCloseOperation(JFrame.EXIT_ON_CLOSE);

    }
}

class fileopener {
    public fileopener(JTextArea textArea) {
        // Open a file chooser dialog and allow the user to select a text file to open
        JFileChooser fileChooser = new JFileChooser();
        fileChooser.setDialogTitle("Open Text File");
        int result = fileChooser.showOpenDialog(null);
        if (result == JFileChooser.APPROVE_OPTION) {
            // Read the contents of the selected file and display them in the text area
            try (BufferedReader reader = new BufferedReader(new FileReader(fileChooser.getSelectedFile()))) {
                textArea.setText(""); // clear the text area
                String line;
                while ((line = reader.readLine()) != null) {
                    textArea.append(line + "\n");
                }
            } catch (Exception e) {

            }
        }
    }

}

class filesaver {
    //String body;
    JFrame frame;

    public filesaver(String body) {
        //this.body = body;
        frame = new JFrame("swingPad");

        JLabel l2= new JLabel("Enter the file name: ");
        JTextField t3 = new JTextField(20);
        JButton b= new JButton("Save file");
        frame.setLayout(new FlowLayout());
        frame.setVisible(true);
        frame.setPreferredSize(new Dimension(400, 400));
        frame.pack();
        frame.setSize(400,400);
        b.addActionListener(new ActionListener() {
            public void actionPerformed(ActionEvent e) {
                String filepath=t3.getText();
                try (FileOutputStream fos = new FileOutputStream(filepath)) {
                    FileWriter fw = new FileWriter(filepath, true);
                    BufferedWriter bw = new BufferedWriter(fw);
                    PrintWriter pw = new PrintWriter(bw);

                    pw.println(body);
                    pw.flush();
                    pw.close();
                    JOptionPane.showMessageDialog(null,"Record Saved");

                }
                catch (Exception x){
                }
            }
        });

        frame.pack();
        frame.add(l2);
        frame.add(t3);
        frame.add(b);
    }
}
That's it, that's the code necessary to make a notepad clone using Swing.
PermalinkTesting The App
Now let's test the app and see if everything is working.
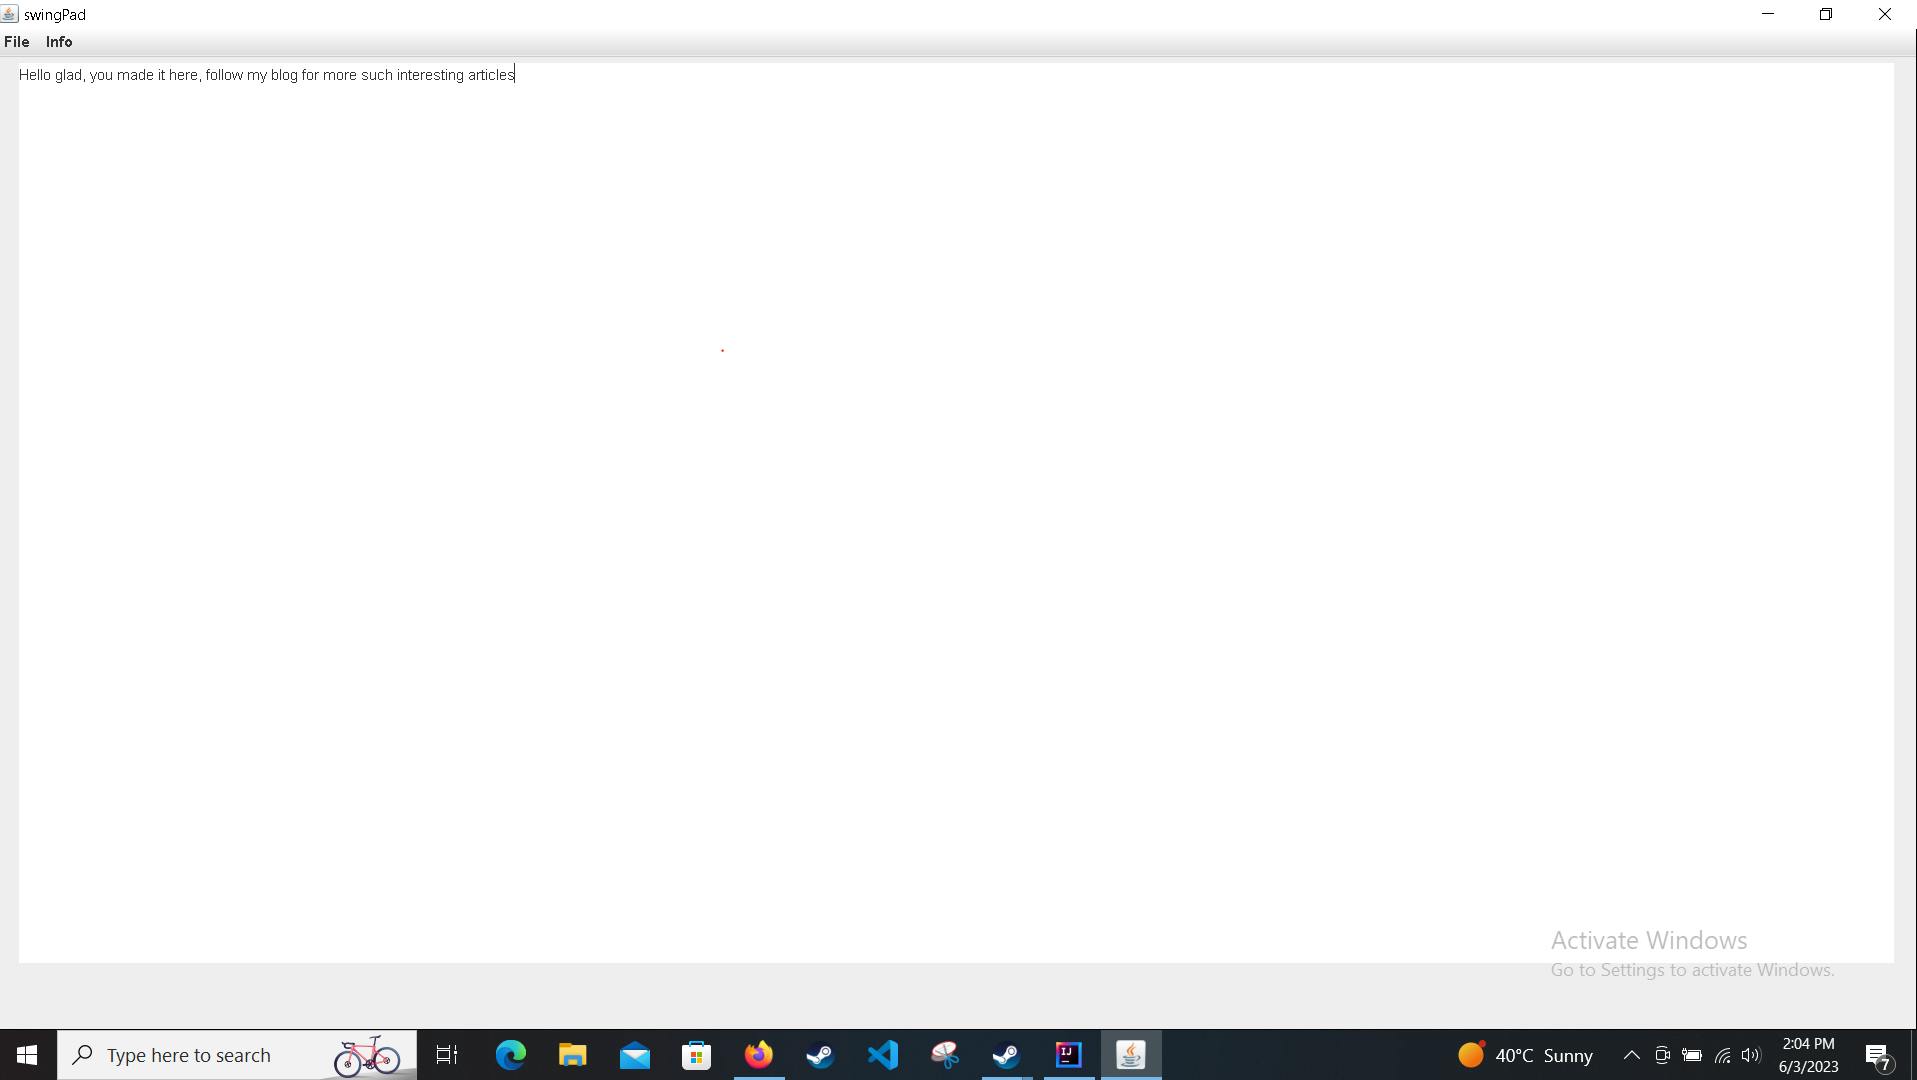
This is what it's going to look like when you run the code.
I've written some sample text in the file, let's save it.
Let's click on the File option in the tool bar and then save file.
You'll get the following window.
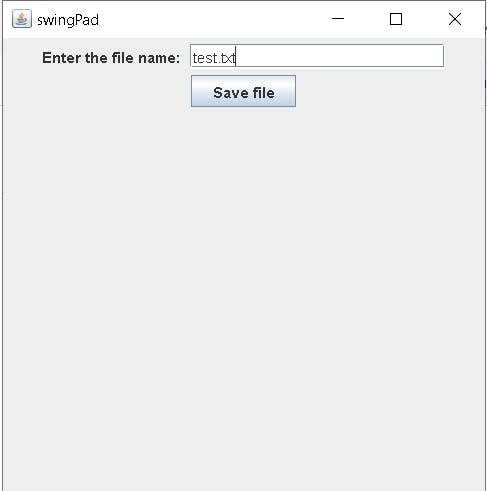
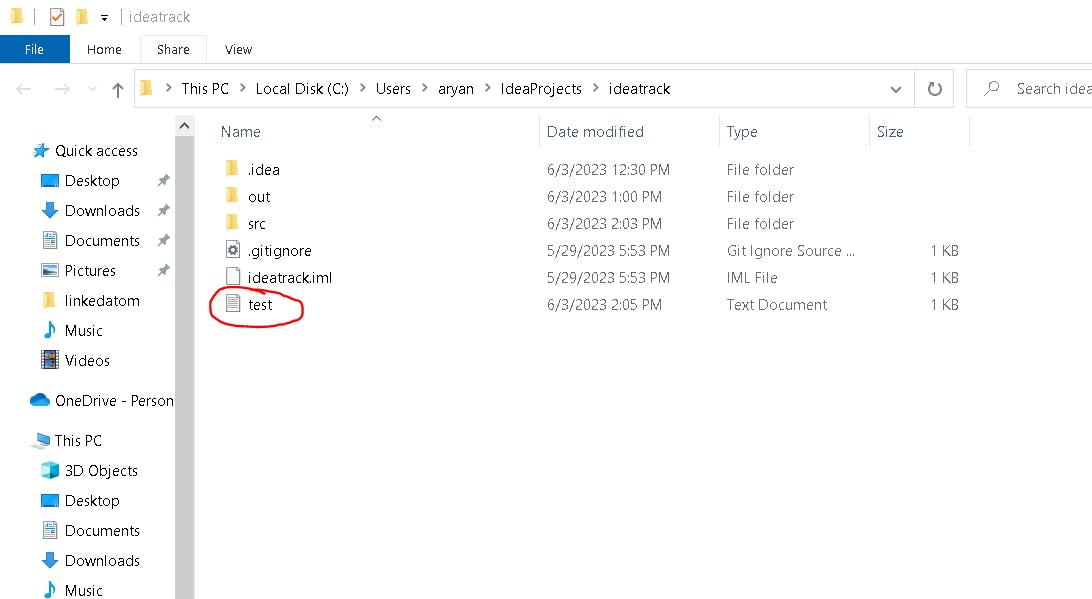
I've saved the text file as test.txt and now if you go to the source folder of the project made by IntelliJ, you'll find the text file there.
Now if you open the file using Notepad, you'll see the following text.

Now let's try opening something from our app.
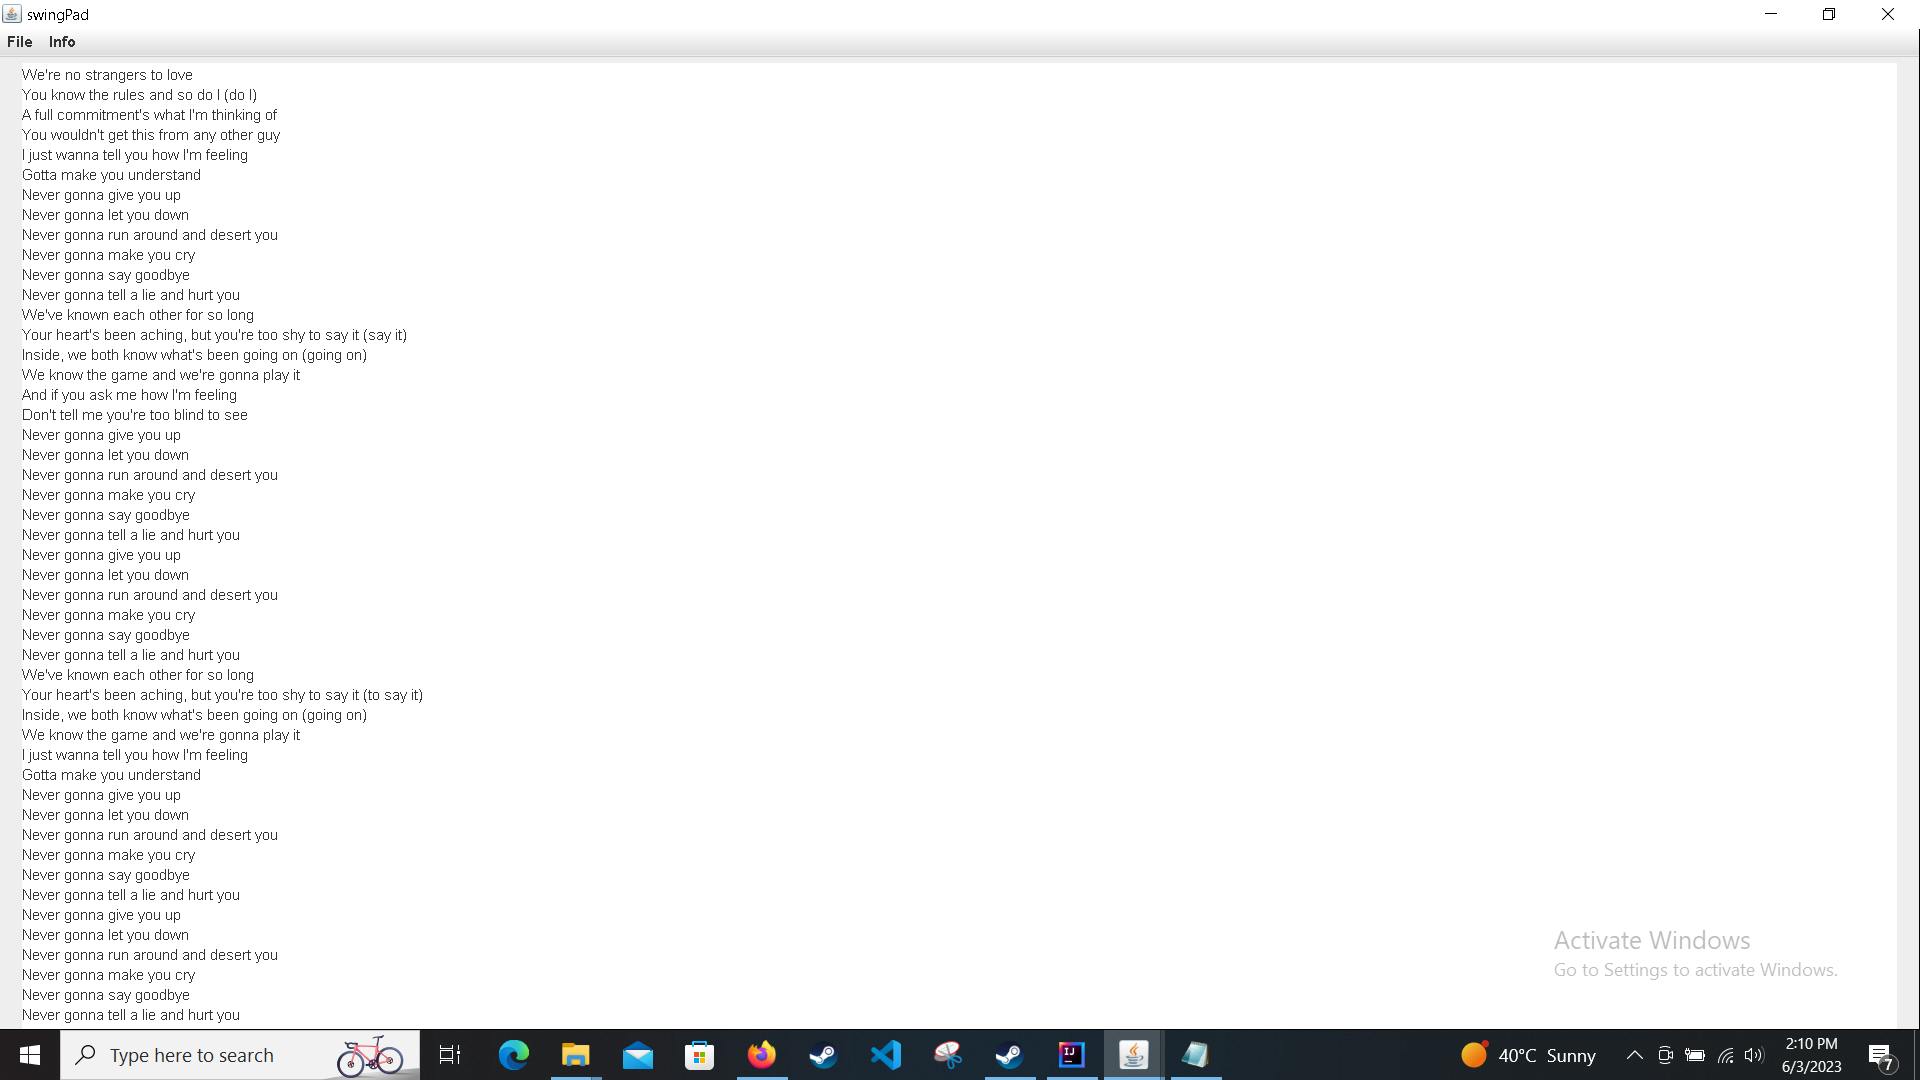
Go back to the app and click on open file. I've selected the file containing lyrics for Rick Astley's Never Gonna Give You Up.
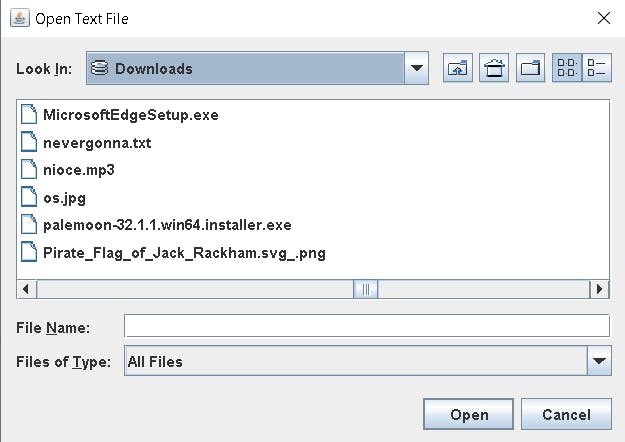
now you can see the lyrics in the text area.
PermalinkConclusion
So we've successfully built a Notepad Clone using Java Swing. You can create a JAR file of this code and then distribute it to others but remember that you need to install JDK 17 on your target devices in order for the app to run.
If you've found this tutorial helpful, feel free to follow my blog for more such tutorials and tech opinions.